-Skype: live:jamalien
-Hotmail: jamalien@live.com
Thank you,
1: Tool Cabinet (DONE) -Provided by Naka.
-
--- Finished Product Preview ---

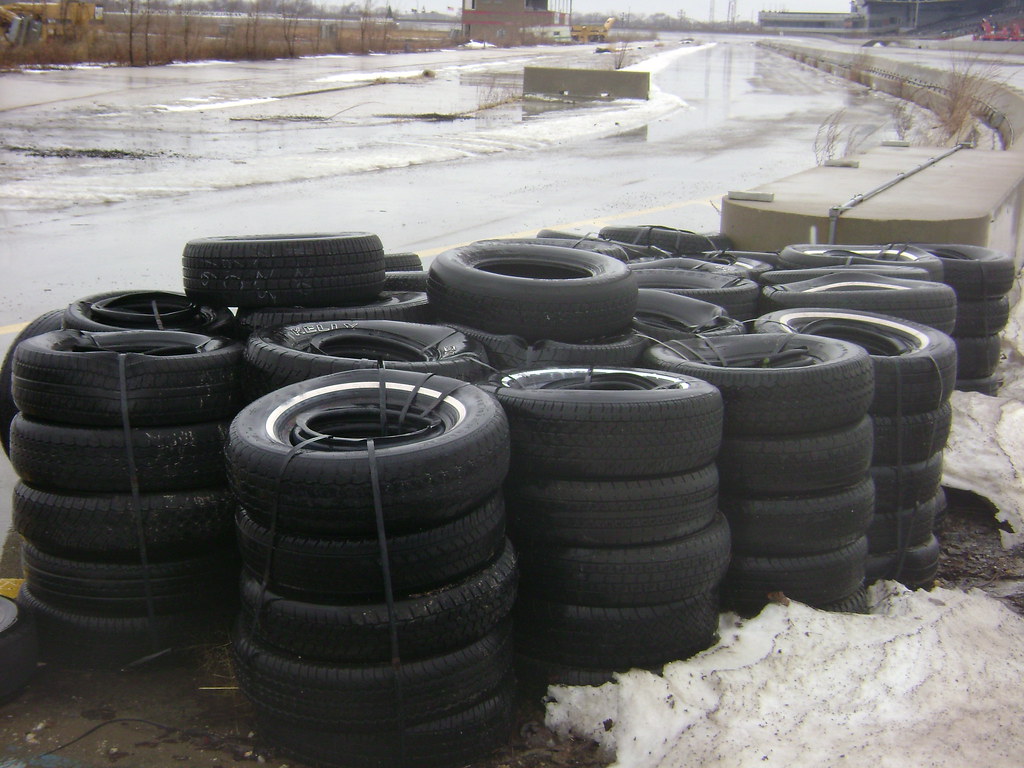
2: Tire Stacks
Texturing Required!
-Found on the sidelines of almost all traditional raceways, this is one object that cannot be missed! The task here is very simple, create a medium-low poly stack of tires, it would be best to create about 3 or more seperate stacks which could all be lined up next to each other. Stacks should be 3-4 tires high. Details to look out for would be rope / bungees holding the stacks together, as well as the angle / tilt / lean of the tires which increases at the top of the stack. For texturing, extra detail could include different tire treads and color.
Texturing Required!
Please do not create high poly tire models, such as ones you would put on a good car model; try to stay around 12 - 16 Cross points / circular vertex points.
Texturing Required!
-Found on the sidelines of almost all traditional raceways, this is one object that cannot be missed! The task here is very simple, create a medium-low poly stack of tires, it would be best to create about 3 or more seperate stacks which could all be lined up next to each other. Stacks should be 3-4 tires high. Details to look out for would be rope / bungees holding the stacks together, as well as the angle / tilt / lean of the tires which increases at the top of the stack. For texturing, extra detail could include different tire treads and color.
Texturing Required!
Please do not create high poly tire models, such as ones you would put on a good car model; try to stay around 12 - 16 Cross points / circular vertex points.


3: Engine Hoist
-Fairly simple one, another item you might find in a more dedicated garage. Details to watch for would include the wheels, hoist chains dangling down, bolts, and the rotating levers to raise / lower. When modeling the wheels and chains I'd recommend staying low poly.
-Fairly simple one, another item you might find in a more dedicated garage. Details to watch for would include the wheels, hoist chains dangling down, bolts, and the rotating levers to raise / lower. When modeling the wheels and chains I'd recommend staying low poly.

4: Tire Rack
-I suspect there will be a lot of larger objects being made to fill up the garages. Detailed work could include tires stacked in various positions (upright, leaning, horizontal), trolley wheels, square platforms the wheels are bolted to, and bolts.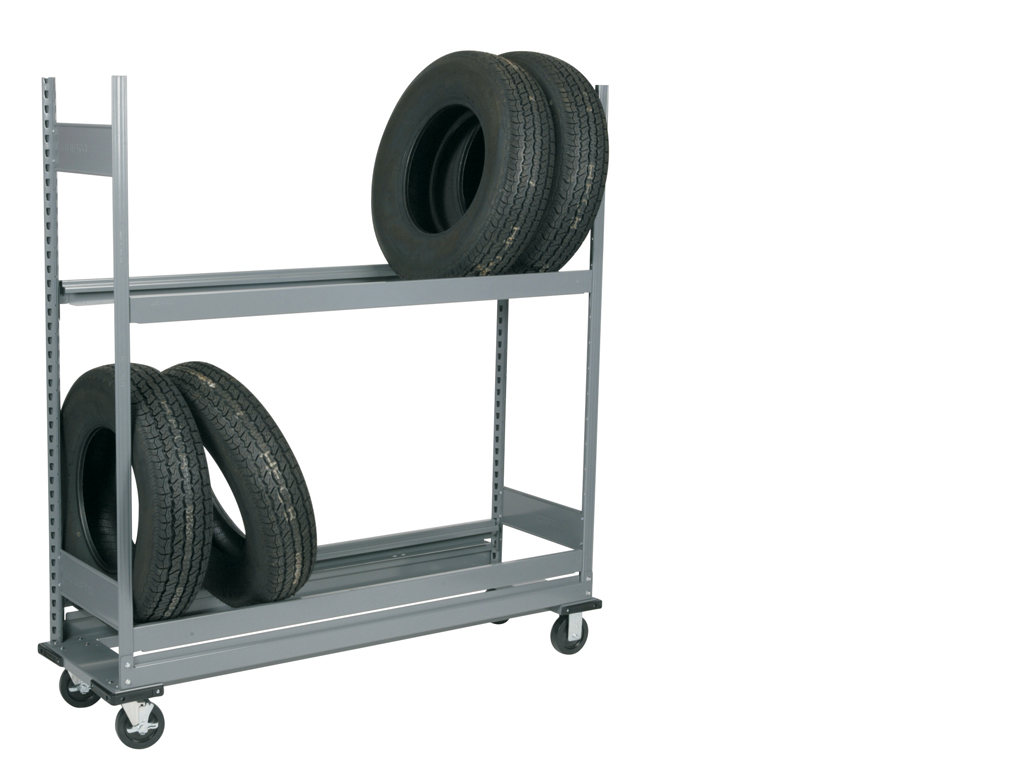
5: Tool Trolley
-Oh what the heck, I guess I'll be needing a few of these. Same instructions as the first item on this list. Details include some slightly open drawers, the push handles, drawer handles, and wheels.


-Oh what the heck, I guess I'll be needing a few of these. Same instructions as the first item on this list. Details include some slightly open drawers, the push handles, drawer handles, and wheels.
6: Tool Box
-Yeah! Same instructions as the first and fifth items in this list. Would probably be good to have the top of this one opened, like the first picture in this list shows.
-Yeah! Same instructions as the first and fifth items in this list. Would probably be good to have the top of this one opened, like the first picture in this list shows.
7: Fluorescent Lights
-Every building needs lights, so shall we make some? A simple fluorescent overhang light like this should suffice! Details could include the bulbs themselves, chains which will hang it from the roof (low poly), and of course the cover.
-Every building needs lights, so shall we make some? A simple fluorescent overhang light like this should suffice! Details could include the bulbs themselves, chains which will hang it from the roof (low poly), and of course the cover.

8: Stepladder
-Open or folded, doesn't matter! This map is under construction, as far as I'm concerned that means it needs a ladder. Included details may be rubber blocks at the bottom of the ladders legs and the folding crossbeam,
-Open or folded, doesn't matter! This map is under construction, as far as I'm concerned that means it needs a ladder. Included details may be rubber blocks at the bottom of the ladders legs and the folding crossbeam,
9: Event Tent
-I would wager that at almost every automotive event you visit will have one of these. Details would include the poles, especially where they criss-cross at the top.
-I would wager that at almost every automotive event you visit will have one of these. Details would include the poles, especially where they criss-cross at the top.
10: Event Flags
-Hand-in-Hand with number 9, these are right there with the tents. Detail....should be fairly easy to figure this out.
11: Guard Rail
-The idea here is to create only one section of straight guardrail which I can copy-paste around the track. I'd ask that the length of the guardrail be about 3/4 the length of a car, or the length of a small car such as the GTA:SA Previon. Detail wouldn't be much, just make sure to model the rail in the shape picture, and the support beams in the shape of a capital I, or H.
-The idea here is to create only one section of straight guardrail which I can copy-paste around the track. I'd ask that the length of the guardrail be about 3/4 the length of a car, or the length of a small car such as the GTA:SA Previon. Detail wouldn't be much, just make sure to model the rail in the shape picture, and the support beams in the shape of a capital I, or H.

0 comments:
Post a Comment